

Azure : Create a Virtual Machine


In this article we will see how to create a Virtual Machine (Windows server) on Azure Portal. This article is intended for people starting out with Azure Cloud and this Virtual Machine will have the minimum configuration required.
Go to Microsoft Azure Portal.
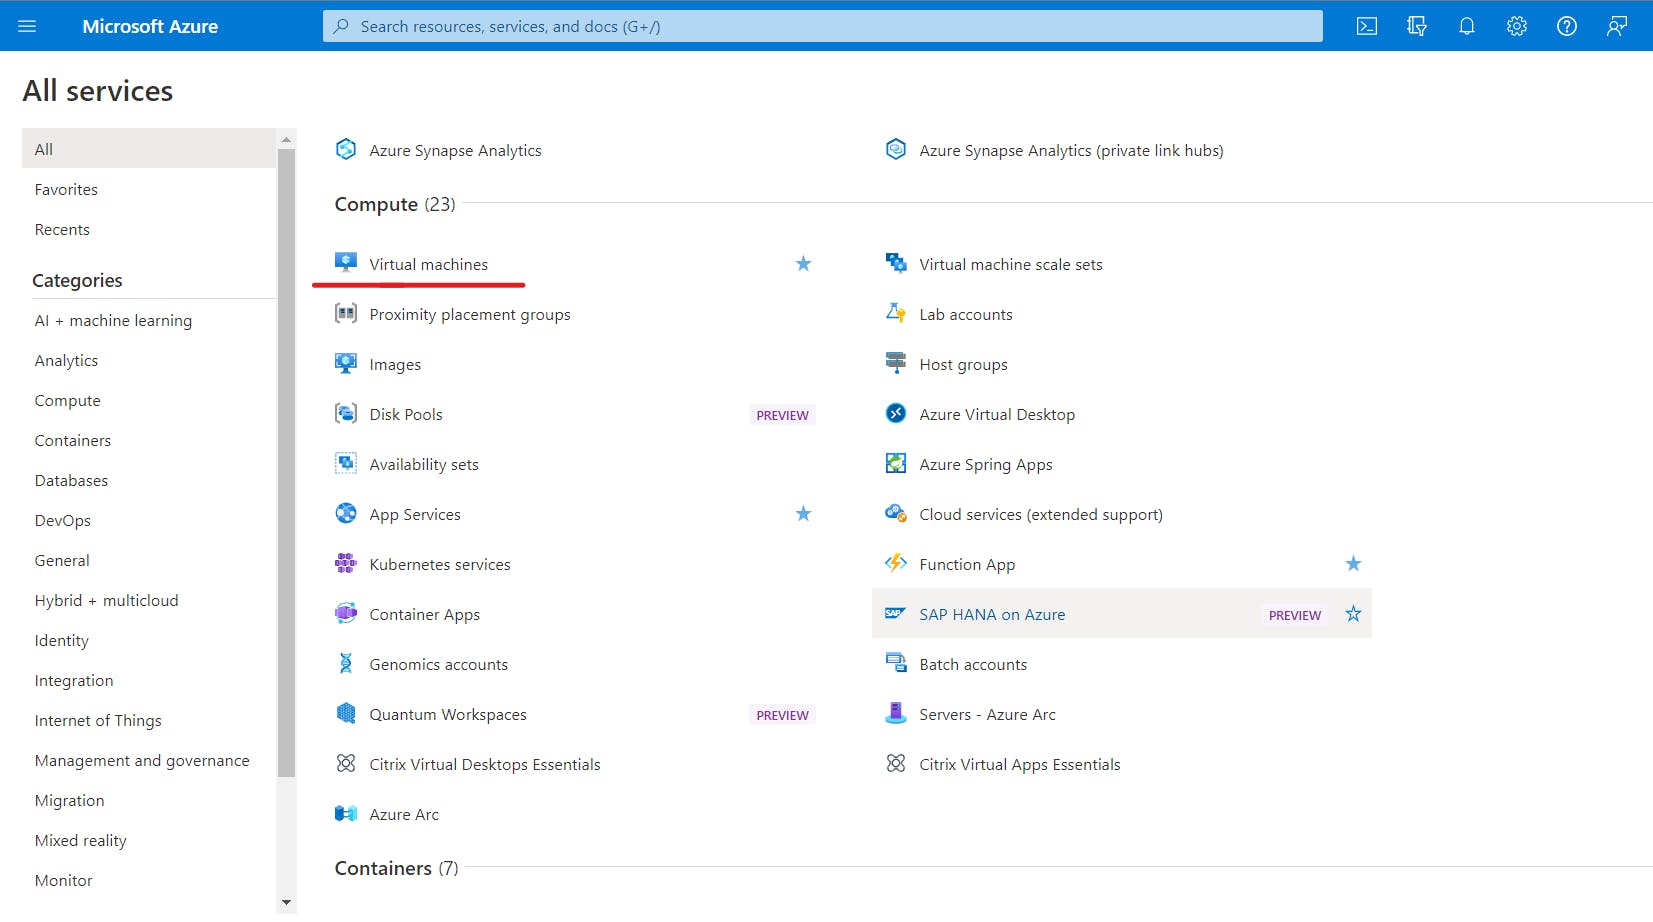
Go to All Services > Compute > Virtual Machines
Note : You can mark Virtual Machines as favourite and then it will appear under the favourites tab on the left navigation menu.
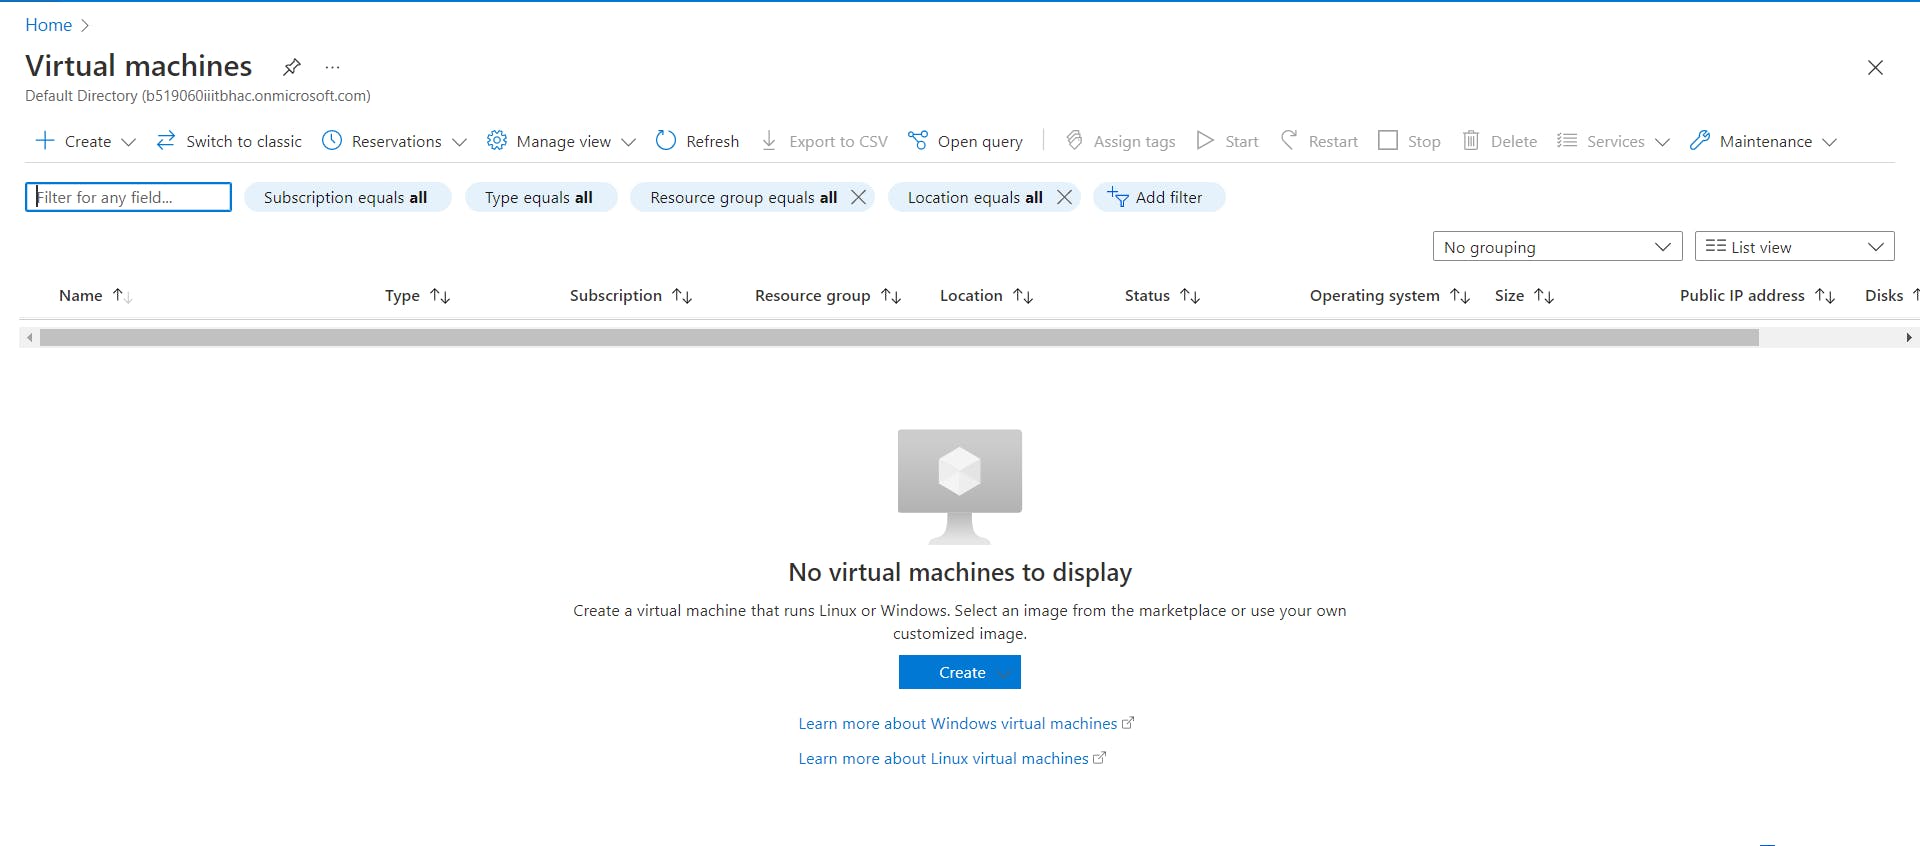
Now click on Create button to start the process of creating a Virtual Machine.
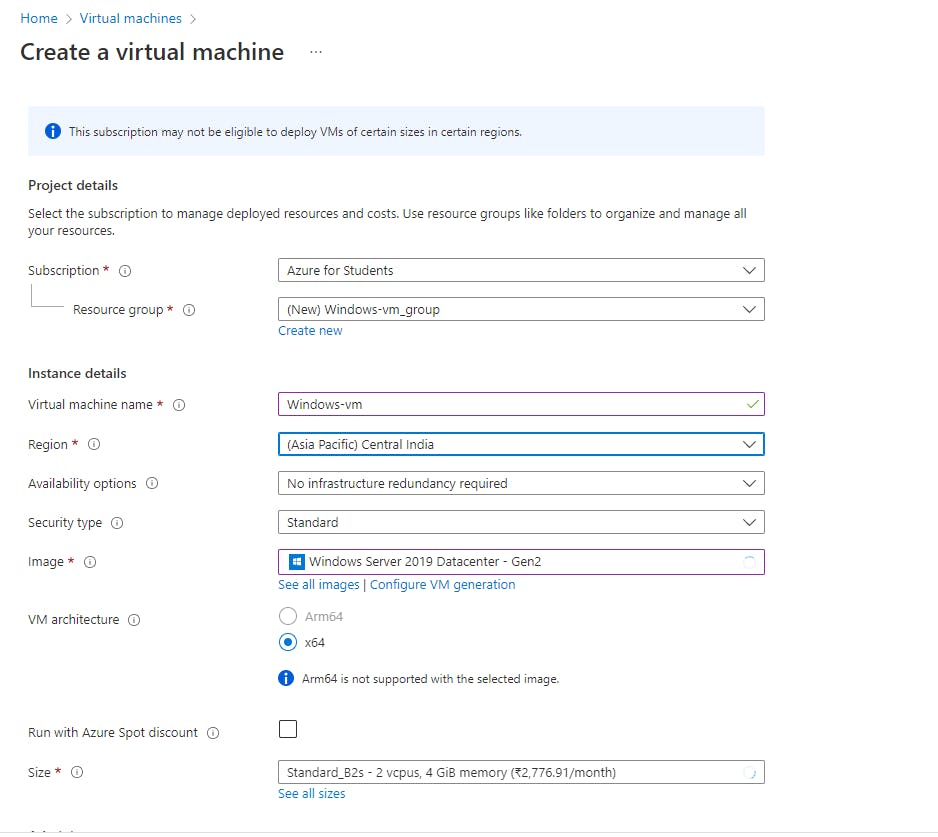
Now under the Basics tab
- Select your subscription
- Select your resource group. Create a new resource group if you don't have any.
- Give your virtual machine a name
- Specify a region. (Prefer closest to you)
- Select an image (For our case, we go for Windows Server)
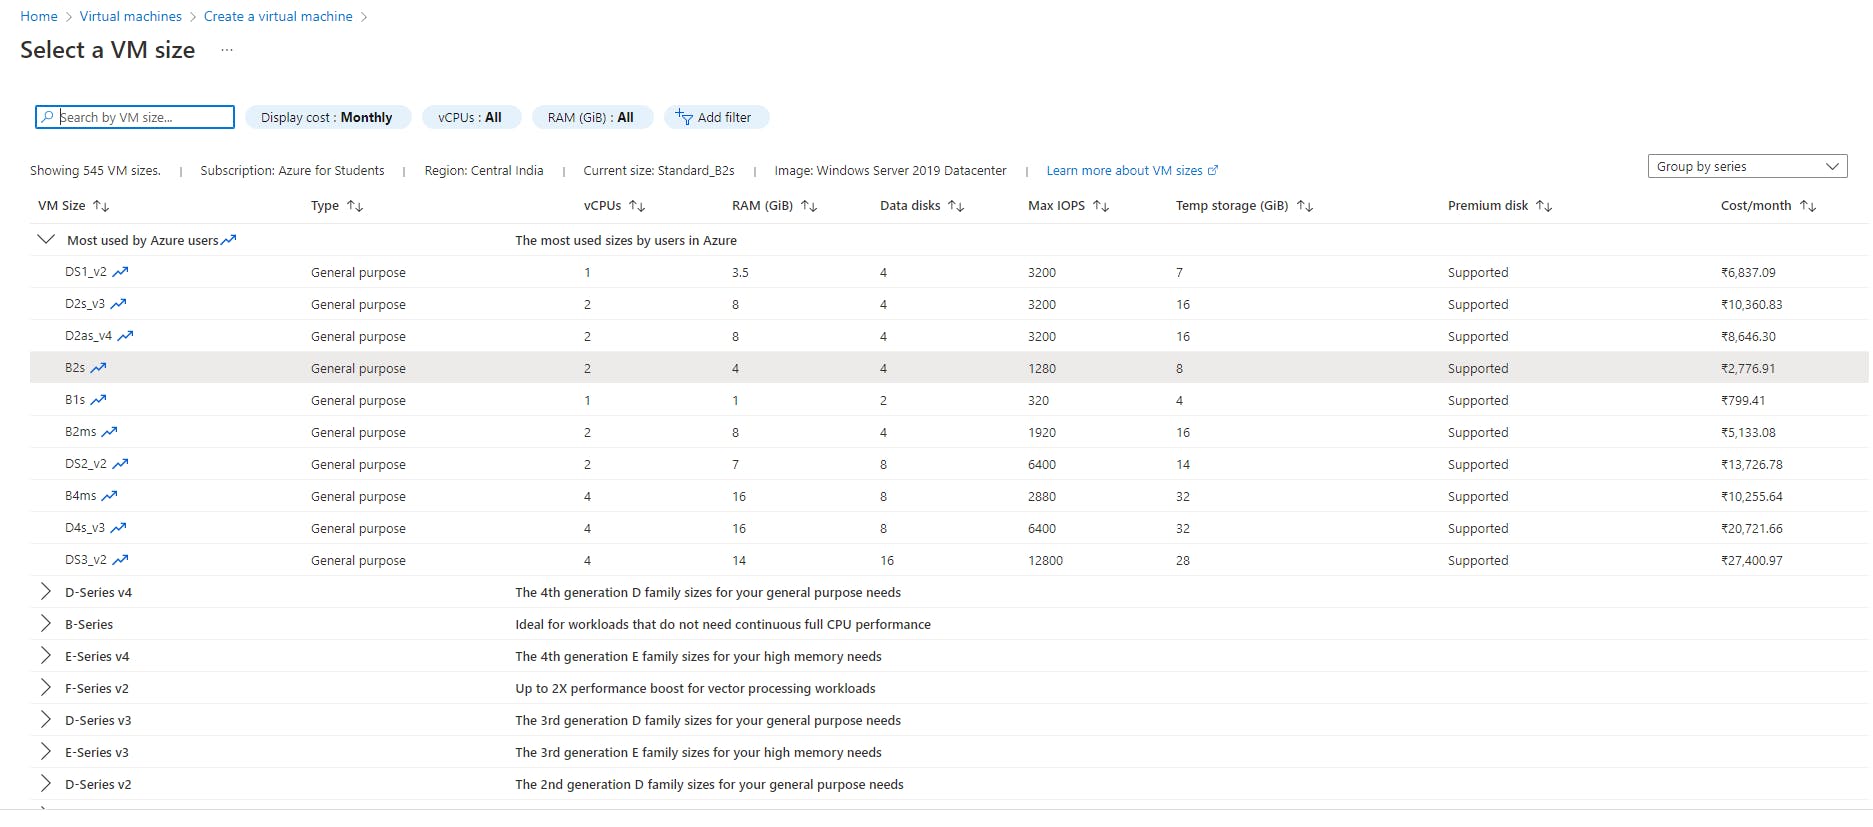
- Select the size for the image , i.e., vCPUs, RAM, Data Discs, Max IOPS, etc. (Click on See all sizes to view all options)
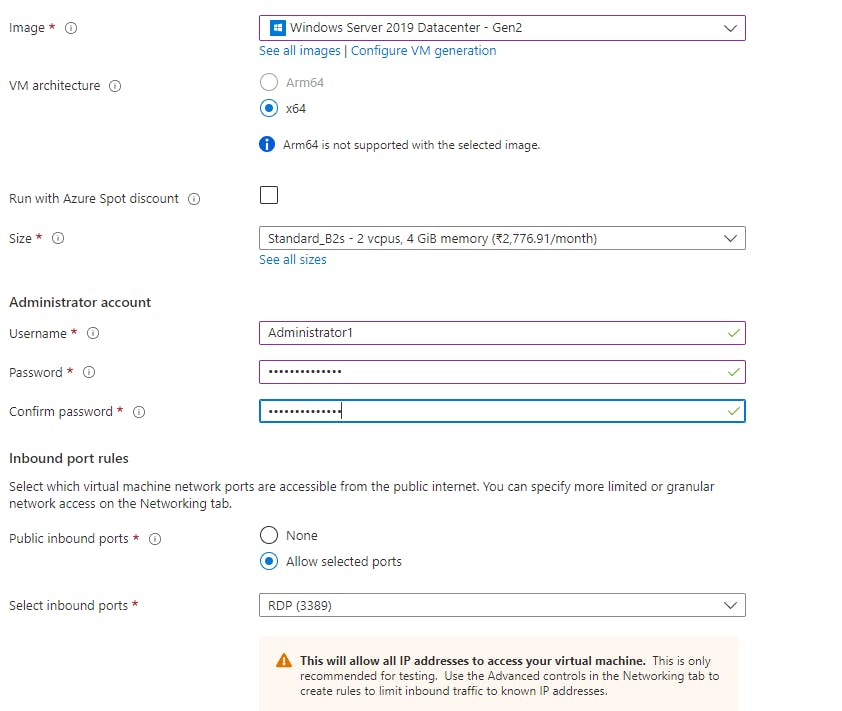
Set the Username and Password.
Set inbound ports to RDP (Remote Desktop Protocol) so that we can access the VM from our Desktop
Check the checkbox confirming the Windows License and click OK.
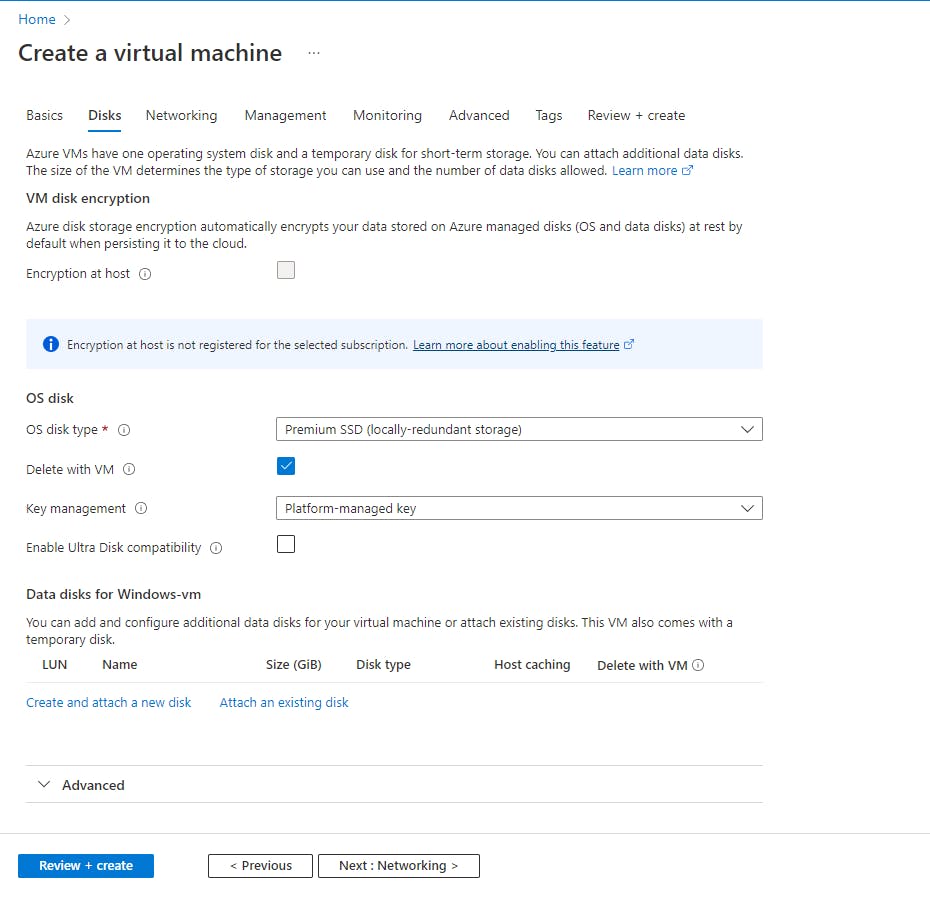
Under the Disks Tab
- Select the OS Disk Type as Premium SSD
- Click on Next
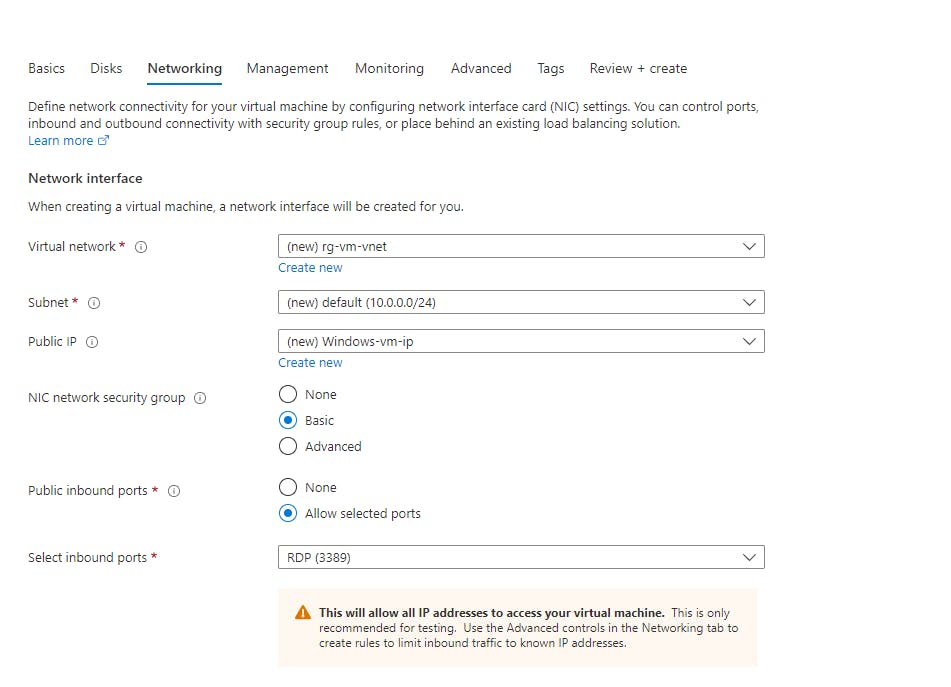
Under the Networking Tab
- You can see the Virtual Network, Subnet Id and the Public IP provided by Azure for our VM.
Note : Leave all the Configuration under the Monitoring, Management and Advanced as Default.
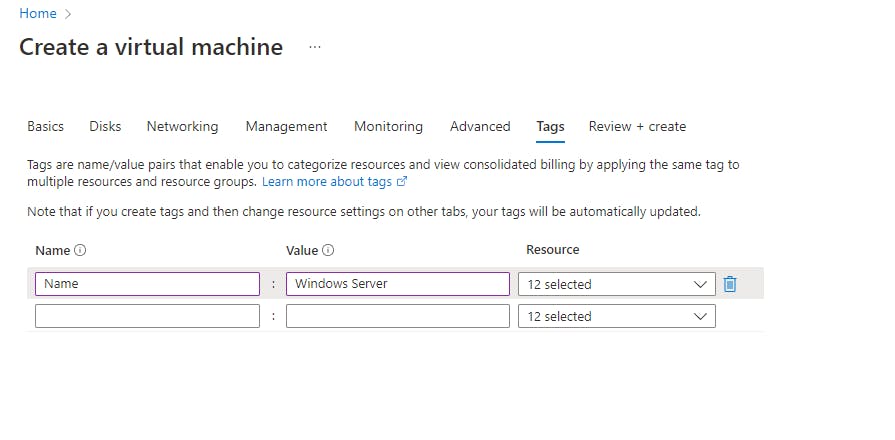
Under the Tags section
- Lets give a Name Tag for our Virtual Machine.
- Click on Next
Under the Review + Create section
- This section gives all the details regarding the Virtual Machine we are creating along with the pricing.
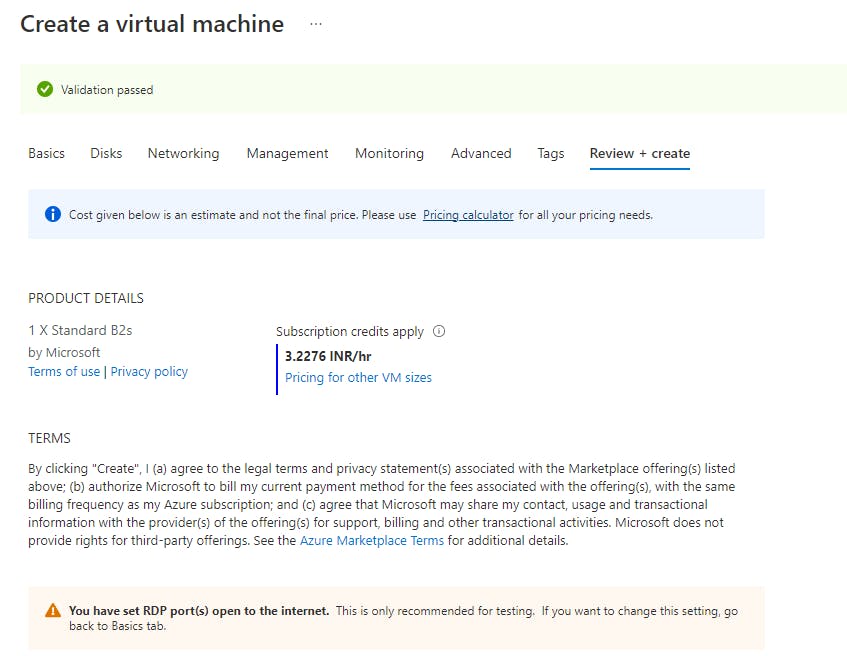
Finally , click on Create Button
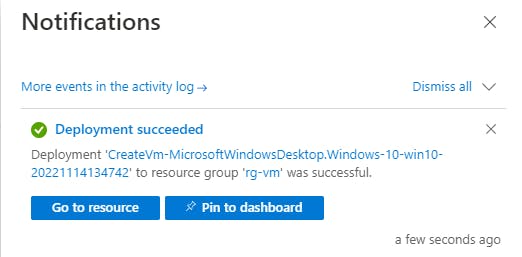
Under the Notifications, you can see that the process is initiated.

Now head back to the Virtual Machines dashboard and you can see your Virtual Machine Created.

Click on the VM and you will see all the details about it.
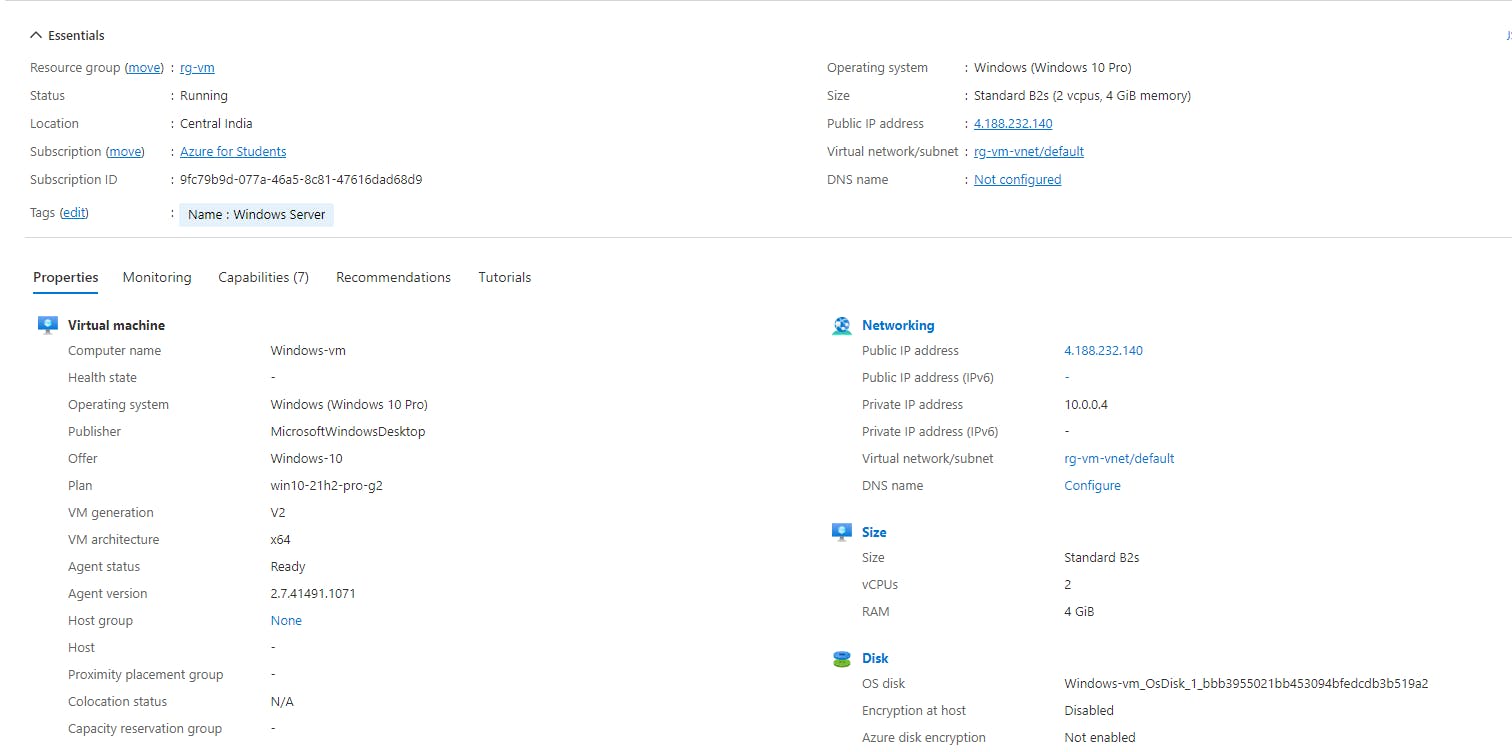
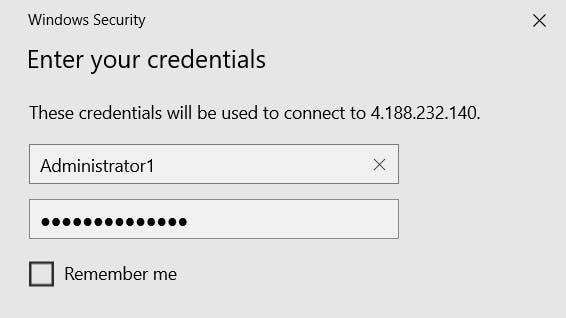
Now, you can use this IP address to do a Remote Desktop Access to your Virtual Machine.
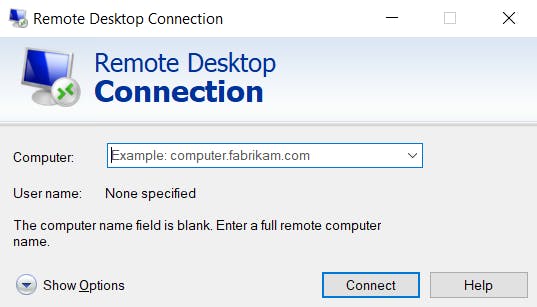
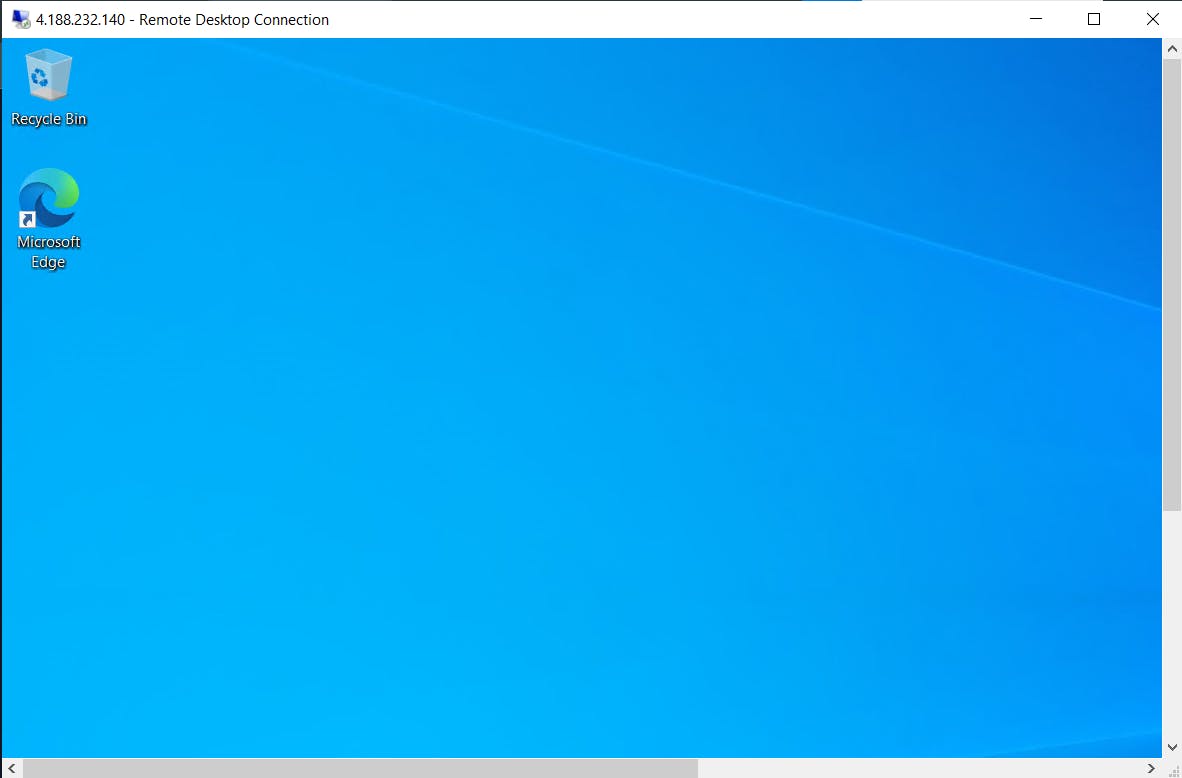
After connecting, you will see your Windows VM.
We have reached the end of the article. Please remember to delete your VM after you are done using it, otherwise you will be kept on being charged for it.
I hope you found the article useful.
Lets connect :
Happy Coding :) .